One of the main, if not the main, things that makes Open Source software different is that the code is freely available and anyone can contribute fixes and new functionality. All those contributions need people to test them and the more people that help to test then the better the code will be and we will all benefit.
If you use Joomla then you can test Joomla.
In this "Dummies" guide I am going to take you through a simple 13 step process that anyone who can use Joomla can follow. I don't care if you don't know functions from classes or procedures from queries you can use this guide.
Anyone can test and everyone can contribute
I am not so naive to think that everyone can test everything - there is no doubt that some contributions require a high level of programming knowledge but you will be amazed at how many do not. Those are the things you can test and together we can make Joomla even better.
Keeping it simple
To use this guide you do NOT need any special software we are just going to use Joomla and a special Joomla component. All you need to know is --- well read on and you will see - it's going to be really easy.
Step 1 - Download the current code
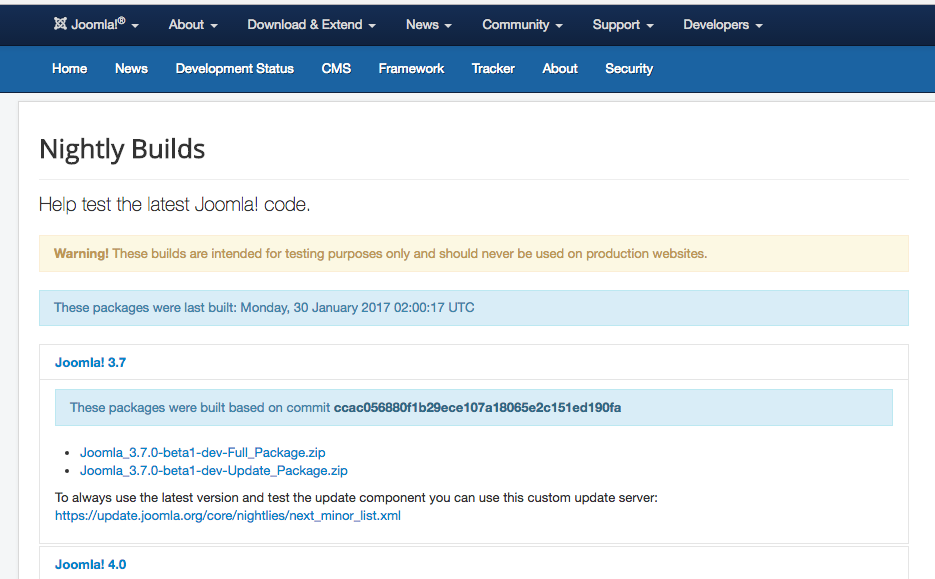
Download the very latest version of Joomla. We are going to use the nightly build that you can download from here https://developer.joomla.org/nightly-builds.html

Step 2 - Install
This is the easiest part of all. Just install the version of Joomla we just downloaded exactly as you would normally do. You might find it helpful and will save you some time if you select the Testing Sample data.

Step 3. - Install com_patchtester
Joomla has a special component that will do all the hard work of installing patches for you. Go to https://github.com/joomla-extensions/patchtester/releases/latest and download the latest stable release and then install it just like any other Joomla component.
Step 4. - Grab the fixes
Open the newly installed Joomla Patch Tester component and you will see that it is empty.

Click on the Fetch Data button and after a short wait you will have a list of all the available issues for testing.
Step 5. - Choosing the issue
It can be a little difficult to tell from the limited information on the list exactly what the "issue" is about so you should click on the orange J!Issue button. This will open a new tab with the full report. Don't worry if you don't understand the first issue you open - just close the tab and find another one.

Step 6. - Confirm the issue
Once you have selected an issue that you want to test, keep the tab with the Issue Tracker open, go back to your joomla web site. The first step in testing any issue, especially a bug report, is to replicate the issue BEFORE changing any code. That way we will know for certain that it is a bug AND that the proposed fix does indeed change it and work. If you cannot replicate the bug go to Step 10.
Step 7 - Applying the patch
Now that we have confirmed the issue we can go ahead and click on the blue Apply Patch button. Depending on the size of the patch this may take a few moments but you will know when it has completed as you will get a success message.

Step 8 - Check the database
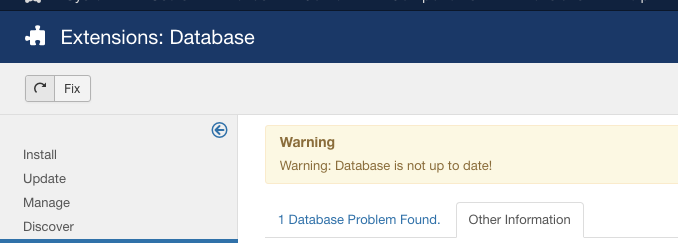
Not all patches touch the database but to make sure you should go to Extensions->Manage->Database. If you see the message that the database is not up to date then simply click on the Fix button. When that has been done you can proceed to test the issue.

Step 9 - Confirm the fix
Now repeat everything you did in step 6 and see if the issue is now fixed. If all has gone well you will no longer be able to confirm the issue that you found before. BUT don't worry if you still get the issue or if you get a new issue after the patch - that's perfecty normal too.
Step 10 - Make your report
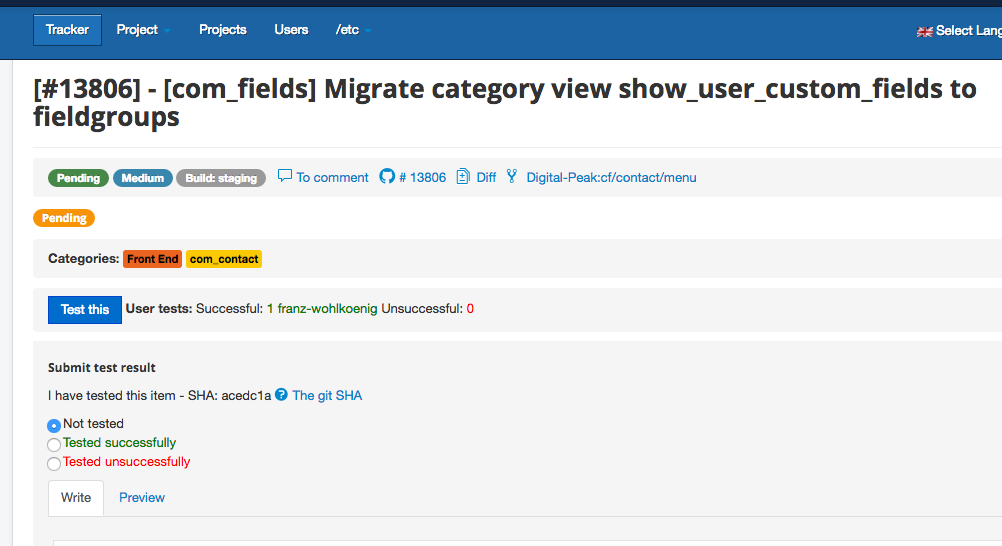
Return to the tab you opened in Step 5 and Click on the blue Test this button. NOTE: We need to be logged in to make our report. So if you are not logged in then you will not see the blue button and will need to login now. (If you dont have a github account you can also create one now).

You will see that there are three options you can select and then a text area where you should make your report. Please leave as much information as possible - no matter if it is a successful or failed test. The more information you give the easier it will be for those who manage the tracker.
Step 11 - Pat yourself on the back
Congratulations you just contributed to the continued success of Joomla - thank you.
Step 12 - Revert the patch
Before you do anything else you should revert the changes you made to your test Joomla installation. Go back to the Joomla Patch Tester component and click on the Green Revert Patch button.

Step 13 - Check your email
It may be that someone who reads your test report has a question for you. This will be posted on the issue tracker and you will automatically receive an email notification. Please respond!! Your response can be more important than your original report.
Now you are a Joomla contributor - easy wasn't it!


